


Hygrometer, Thermal Camera, Tracer Liquid: How Our Technicians Find an Invisible Leak
You have a damp patch on a wall. You've called a plumber. They arrive with a case full of equipment. They take out devices you don't recognise. And 90 minutes later, they show you exactly where the leak is coming from — without breaking anything.
How is that possible?
Here's what our technicians actually do, tool by tool, step by step. No unnecessary jargon — just what really happens on the job.
Step 1: Visual inspection — before any equipment comes out
Before using any equipment, the technician starts by looking. Really looking.
They inspect the reported areas — damp wall, degraded ceiling, creaking floor, hollow-sounding tiles. They look for clues: limescale traces on a wall, slight discolouration at a partition junction, a crack in a shower tray seal, a brown stain on a ceiling.
This step takes time and is often underestimated. It guides the rest of the investigation. An experienced technician often identifies the suspect area during the visual inspection — the equipment then confirms and pinpoints it.
Step 2: The hygrometer — measuring moisture in materials
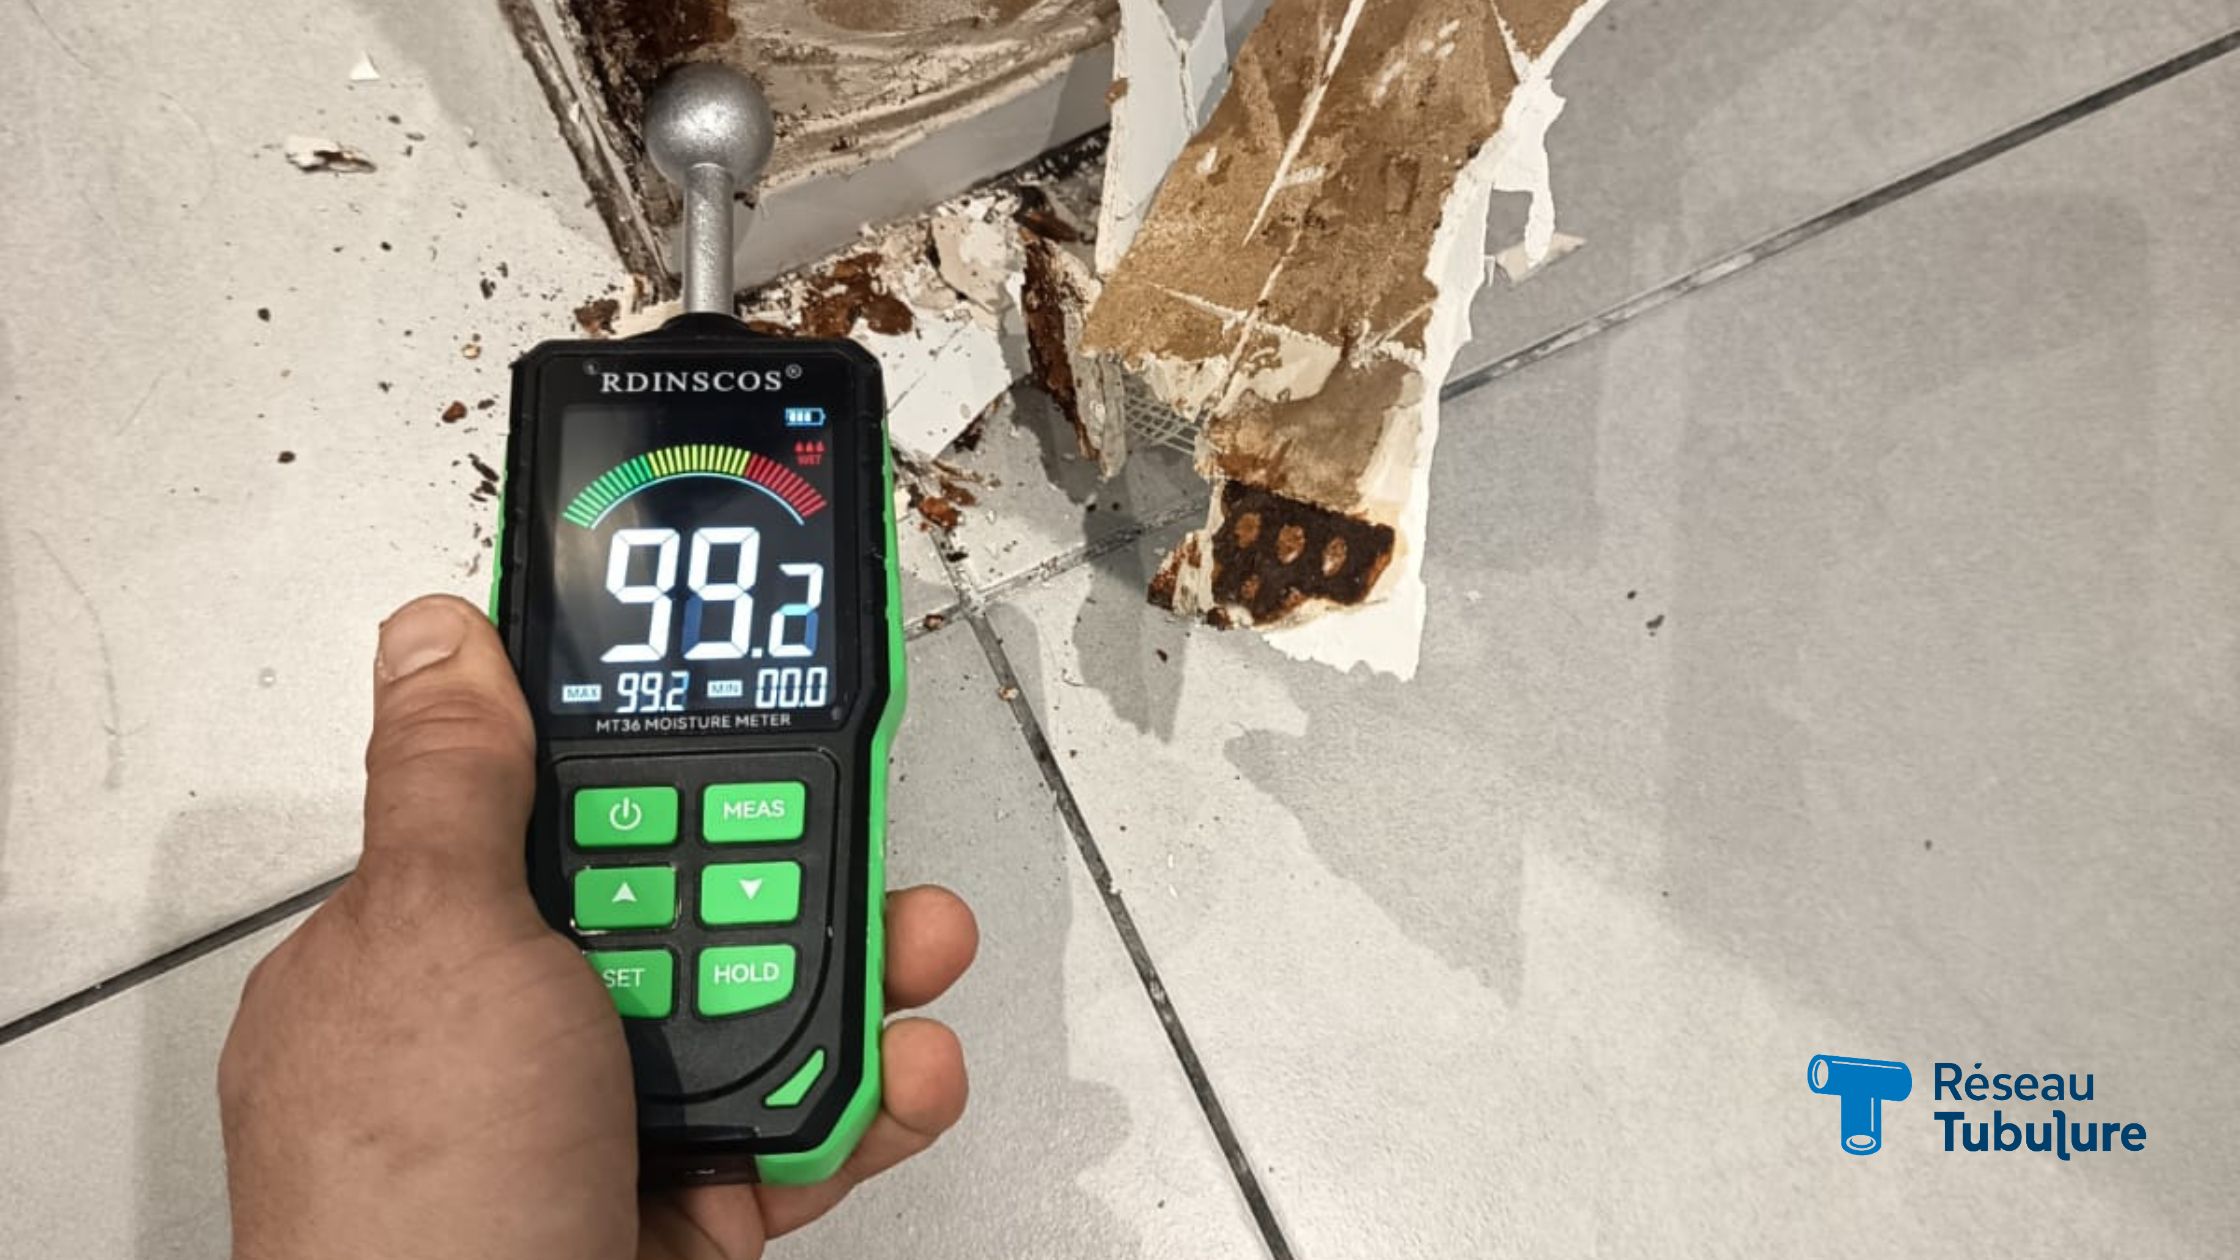
The electronic hygrometer is the first tool out of the case. It measures moisture content inside building materials — walls, plasterboard partitions, floors, timber.
How it works
Two main types exist. The pin-type model uses small probes that penetrate slightly into the material and measure electrical resistance — the wetter the material, the better it conducts. The non-contact (capacitive) model uses electromagnetic waves and can measure through a material without touching it.
The devices display an index or a percentage. A dry wall typically reads between 8 and 15%. Between 15 and 25% indicates residual moisture worth monitoring. Above 25%, you're clearly in an active damp zone. In real interventions, we record readings of 63%, 89%, even 99% — those values indicate completely saturated material.
What we look for
The technician doesn't just measure a single point. They scan the affected area, taking readings across multiple surfaces: the wall facing the shower, the adjacent partition, the floor, the ceiling below if accessible. This moisture map shows how water has moved through the materials — and often points back to the source.
If moisture reads at 40% on the right-hand partition of the shower but stays normal on the left, the leak is probably coming from the right side. Simple — but effective.
Step 3: The infrared thermal camera — seeing without opening
The thermal camera is the tool that impresses clients most. And for good reason: it lets you 'see' moisture through surface coverings.
The principle
The camera detects surface temperature differences. Water, as it evaporates or migrates through a material, changes its temperature. A damp zone behind a wall appears cooler (or warmer if it's a hot water leak) than the surrounding dry areas.
On screen, cold zones show up in blue/purple, warm zones in red/orange/yellow. An isolated green or blue patch against an orange background is often an infiltration. The technician reads the image in real time.
In the field
At Réseau Tubulure, we use the ThermoMalin thermal camera — a professional compact device that gives precise readings even in confined spaces like the base of a partition wall, under a built-in unit, or on a low ceiling.
Thermal imaging is particularly effective on underfloor heating systems (a leak creates a visible heat anomaly on the tiles), behind plasterboard panels, and under shower trays. It guides the next step — in particular where to apply the tracer test.
Step 4: The tracer liquid — definitive confirmation
The hygrometer says there's moisture. The thermal camera locates a suspect zone. The tracer liquid confirms the exact path the water is taking.
How it works
The tracer liquid is a dye — orange-red, bright orange, or fluorescent green depending on the product — which is applied directly to the suspected area. On a shower tray: the tracer is poured onto the surface and we wait. If the tray is leaking around its periphery, the dye follows the water and reappears where the leak exits — behind the partition, under the adjacent tiles, or on the ceiling below.
On a pressurised network, some plumbers inject the tracer directly into the pipe. Under UV light, the fluorescent tracer then becomes visible at the leak exit point.
What the tracer proves
Tracer liquid is the only test that creates direct visual evidence of the water's path. A photo showing orange dye reappearing at the base of a partition wall, exactly where the plasterboard is degraded — that's irrefutable. For the insurer, it's the centrepiece of the report.
Step 5: The pressure test — checking the supply network
When suspicion points to a leak in the pressurised supply network (not on a shower tray or toilet, but on a concealed pipe), the pressure test comes into play.
The technician isolates the network and pressurises it with a gauge. They monitor the reading for several minutes. If the pressure drops, there's an active leak on the network. If it holds steady, the network is watertight — the source is elsewhere (sanitary fitting, drainage).
It's a binary test: tight or not. It quickly points to the right category of cause, avoiding wasted time searching in the wrong place.
When all of this isn't enough: targeted opening
In some cases — deeply concealed leak, diffuse moisture with no obvious source, plasterboard masking a complex area — an opening is necessary. But this is never an opening at random.
Thanks to the hygrometer readings and thermal images, the technician knows exactly where to open. They make a targeted cut — just a few centimetres — to access the materials, verify their condition, and confirm the source. Photos of the uncovered materials (saturated plasterboard, oxidised framework, degraded insulation) then join the report.
A targeted opening after prior investigation is the opposite of a 'blind search'. The surface area opened is minimal. Reinstatement work is limited. And the conclusion is certain.
Key takeaways
- Every intervention starts with a visual inspection — before any equipment comes out
- The hygrometer maps moisture in materials with measured figures
- The thermal camera locates anomalies without opening — in minutes
- The tracer liquid creates direct visual evidence of the water's path
- The pressure test confirms or rules out a supply network leak
- Opening is only done when necessary — and only in the right place